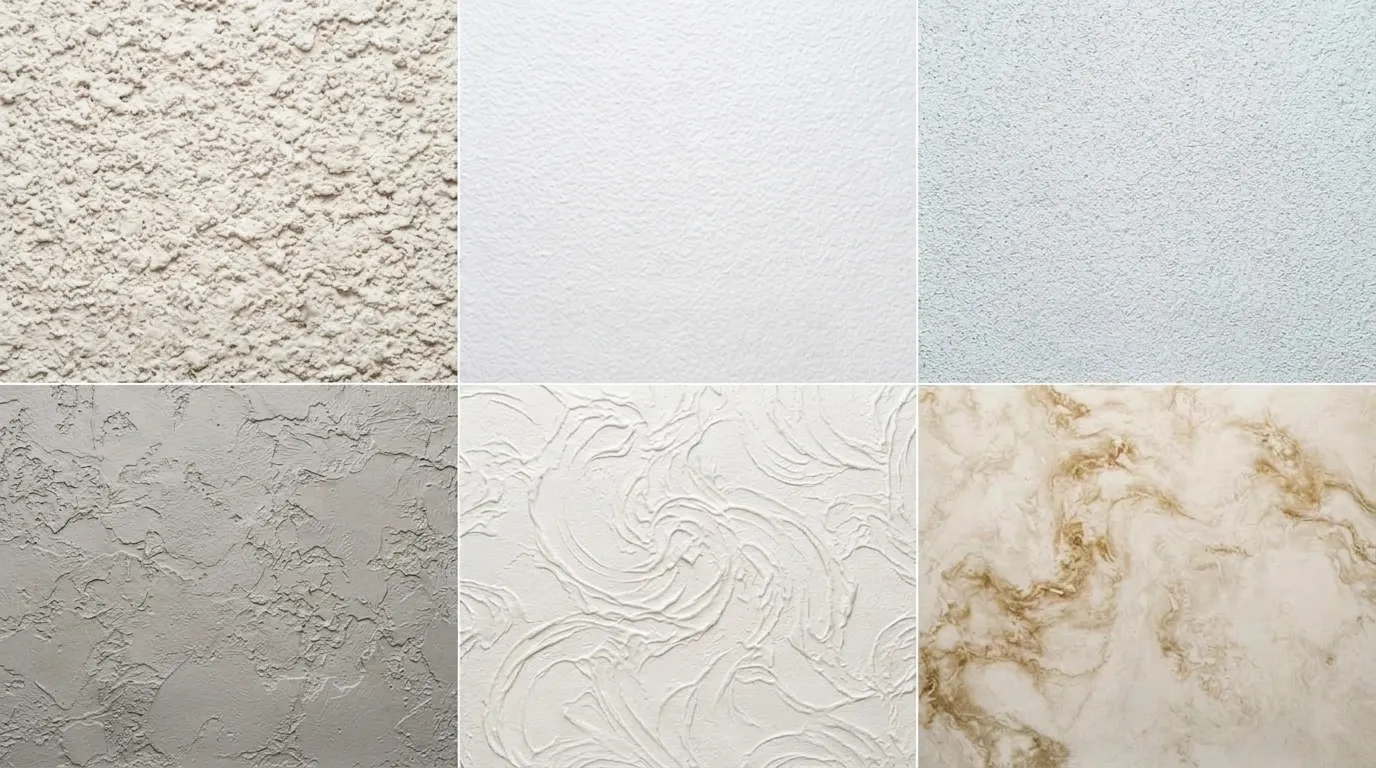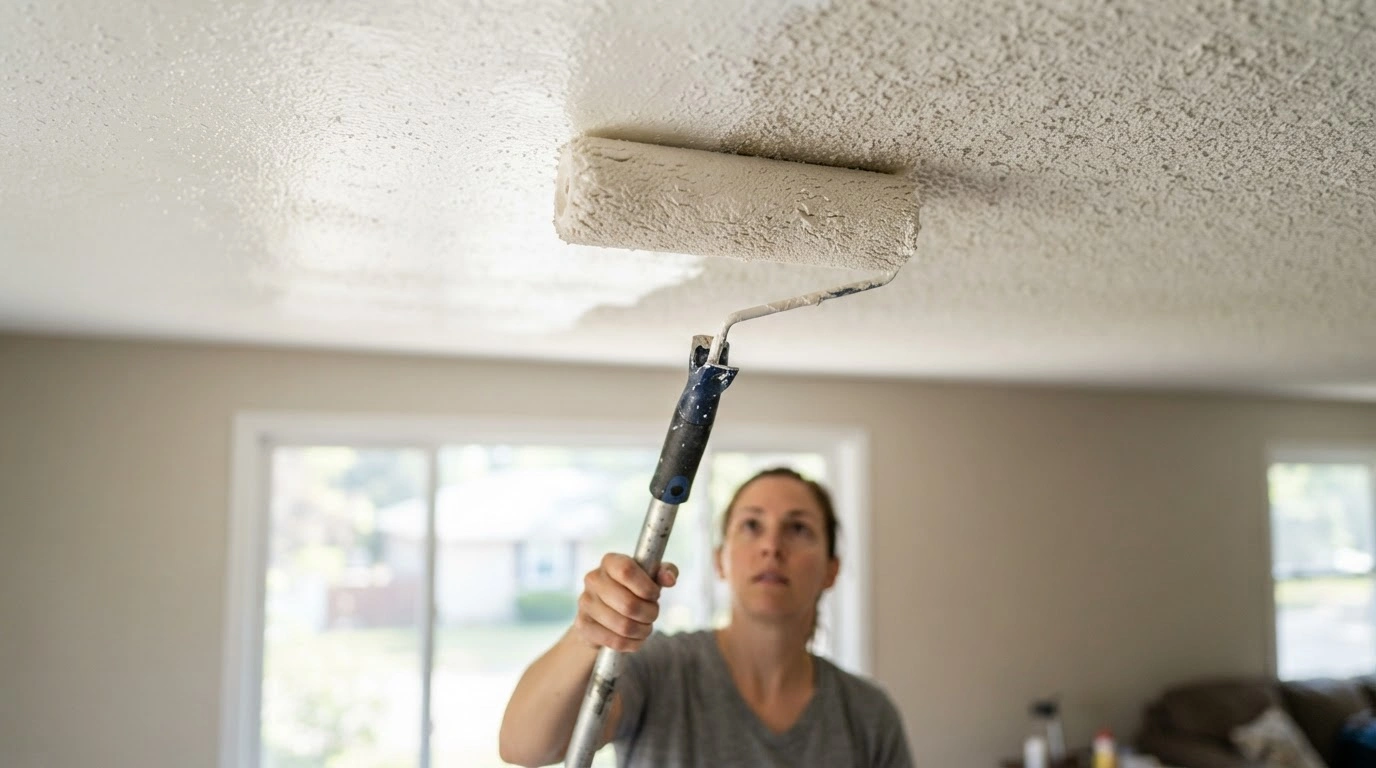
Painting is an art, and when it comes to painting a textured ceiling, you need to have an artistic hand as well as the right technique. Painting a textured ceiling is not a cakewalk, but it’s not an impossible task either. All you need to have is the right tools, materials, and the perfect technique. If you plan for a complete remodeling of the house and have no furniture, the task gets easier. This is because you have no hassle of covering the furniture, but even if there are items in the room, just shift them or remove them temporarily to another place. This blog covers everything, including the tools needed, the technique to paint, and the best paint for a perfect finish.
Can You Paint a Textured Ceiling?
Yes, you can definitely paint a textured ceiling. All you have to do is use the right material, apply the best technique, and have a lot of patience. Painting a textured ceiling is a daunting task that takes time and a keen eye for detail.
How to Paint a Textured Ceiling?
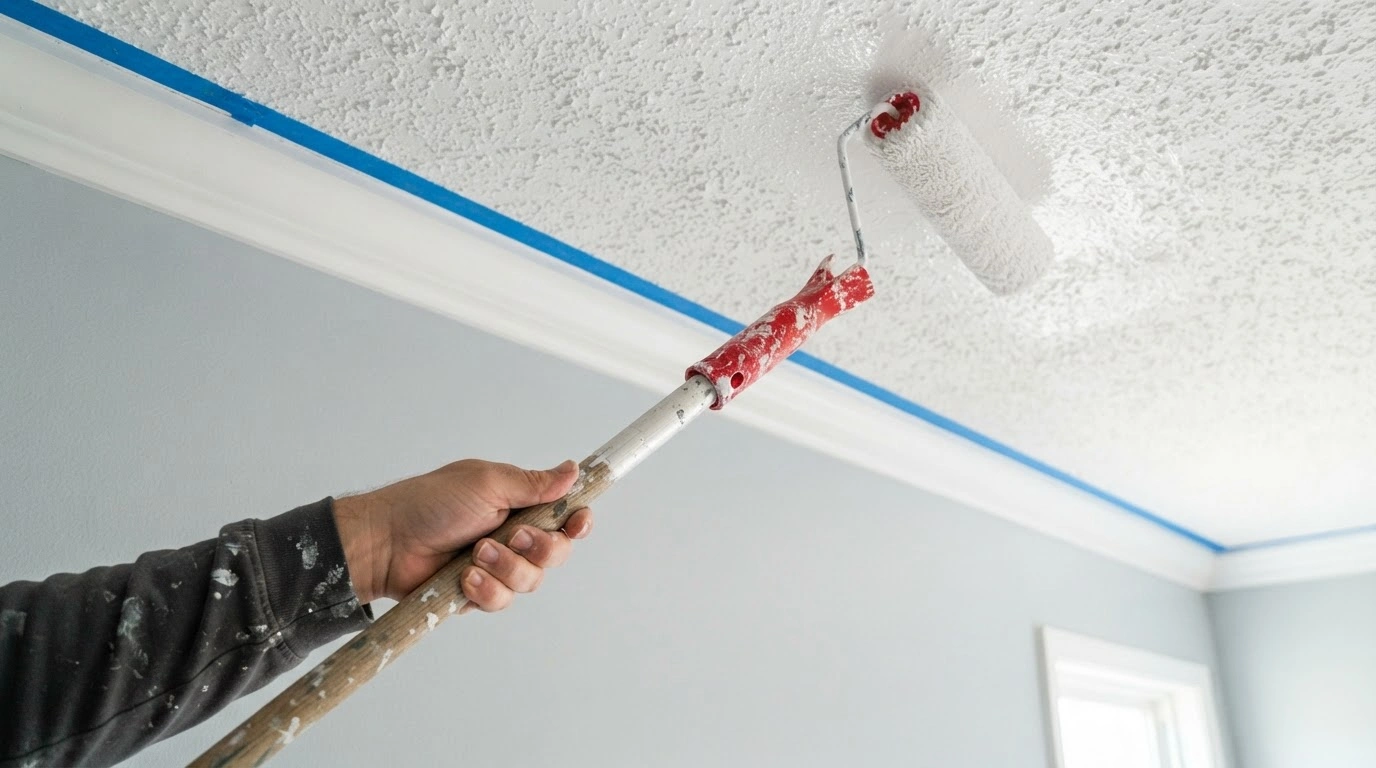
The first step towards painting is to collect the required tools and materials. Here is the list.
Tools and Materials
- Paint
- Primer
- Spackle
- Putty knife
- Paint brush (Angled)
- Chip paint brush
- Paint roller, extension pole, and a tray
- A ladder
- Safety gears like gloves
- Painter’s tape
- Tarp, roller paper, or drop cloth
Step 1: Prepare the Room
Remove furniture from the room. If any furniture couldn’t be removed, keep it in the center and cover it. The purpose of all this is to have free space in the room for tools and equipment.
Remove the paintings, shelves, nails, and hooks from the wall. Then, fill the holes or repair the scratches. Remove the covers of the switches when painting to maintain clean lines.
Now, cover the floor with a tarp or drop cloth to avoid spillage. You can also apply painter’s tape along the edge of the ceiling and press it firmly to ensure there are no wrinkles formed. This is because paint can bleed through the wrinkles, creating a mess.
Step 2: Clean the Ceiling
Once the basic prep work is done, it’s time to clean the ceiling. Vacuum the surface because dust and debris get trapped in the crevices of the wall. Vacuuming helps remove the dust and debris, which you can wipe off with a damp cloth.
Step 3: Inspect and Repair the Ceiling
At this step, inspect the ceiling and along the edges and see if any minor repair needed. Fix the minor repair work, like filling the holes for a smooth finishing.
Step 4: Choose the Right Roller
Painting the textured ceiling with a roller is easier than using a traditional paintbrush. However, select the right roller because there are many variants available in the market, such as power rollers and pressure rollers. In a power roller, paint is fed into the roller through a tube, so you don’t have to carry a separate tray of paint. A pressure roller connects to an airless paint sprayer to feed paint directly using a roller core.
Step 5: Prime the Ceiling
Begin the painting work by priming the ceiling using primers specifically meant for textured surfaces. The purpose of primer is to ensure proper adhesion of paint. Select the primer’s shade that matches the original paint color.
| Some Tips | Choose oil-based primer as it goes well with many paint types, and it won’t need sanding. |
Step 6: Apply the First Coat
Grab an angled brush, dip it into the paint, and paint the edges of the ceiling first to protect the surface from mess. Once the edges are done, paint the other part of the ceiling. To paint the textured ceiling, use a ladder or a pole extender attached to the roller. The best way is to paint the surface from the top down.
Step 7: Inspect and Apply a Second Coat, if Necessary
At this stage, inspect the ceiling for any leftover areas. On noticing such an area, touch it up. In case you want a darker ceiling, add a second or third coat of paint.
Step 8: Let the Ceiling Dry
Allow the paint to dry completely, which can take around 24 hours. When double coating the ceiling, let the first coat dry before applying the second coat.
What Paint is Best for a Textured Ceiling?
Some of the paint brands people often recommend are Promar Ceiling and Sherwin-Williams. Promar Ceiling has high hide, low splatter, and larger surface coverage. Sherwin-Williams is also preferred, especially CHB and Painter's Edge Plus options.
How to Paint Different Types of Textured Ceilings?
Popcorn Ceilings
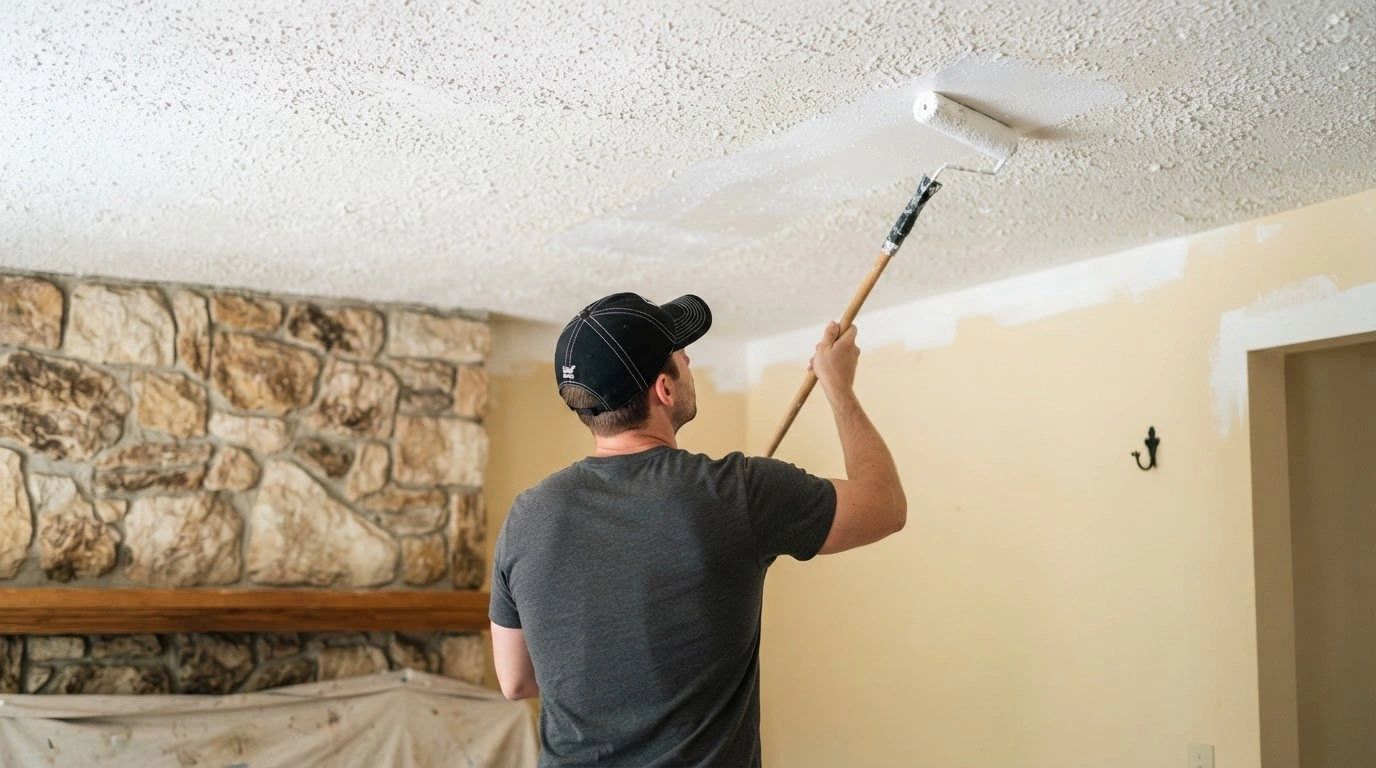
No matter which type of texture ceiling you have, the basic preparation and cleaning steps remain the same, which are already elaborated in detail in the blog. The difference lies in the painting techniques. Begin the process by cutting in along the edges of the ceiling using an angled brush. Then, dip the roller in a paint tray and apply the paint gently in one direction. Let the first coat of paint dry and then apply the second coat. If you're unsure whether your ceiling is popcorn or another type of textured ceiling, learn more about the differences between popcorn and textured ceilings before starting your painting project
| Some Tips | You can use a paint sprayer for faster painting |
Knockdown Ceilings
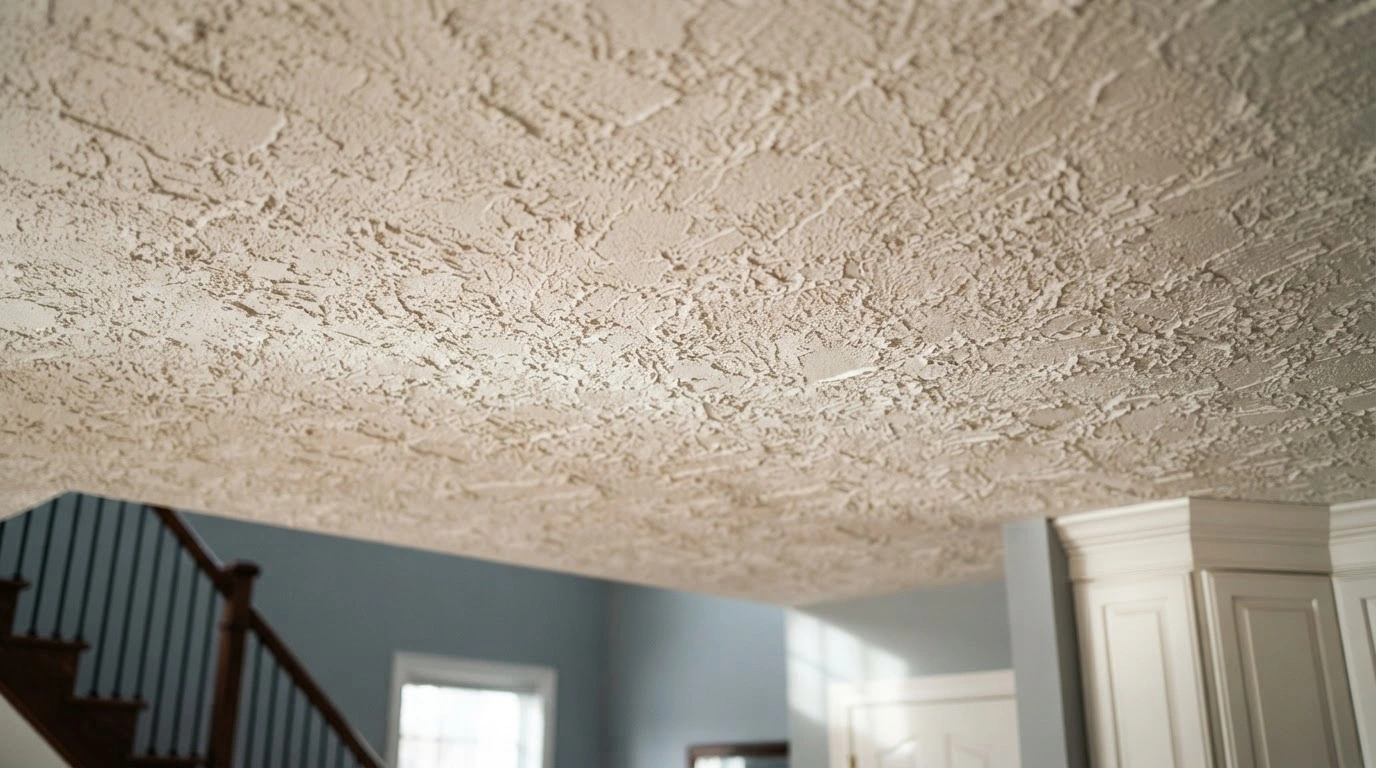
The painting technique depends on how many items you have to mask in the room where the painting task is to be done. If it’s an empty house, use a paint sprayer; whereas if the home is occupied, use a roller. The basic process remains the same as other textured ceiling paint work.
Orange-Peel Texture
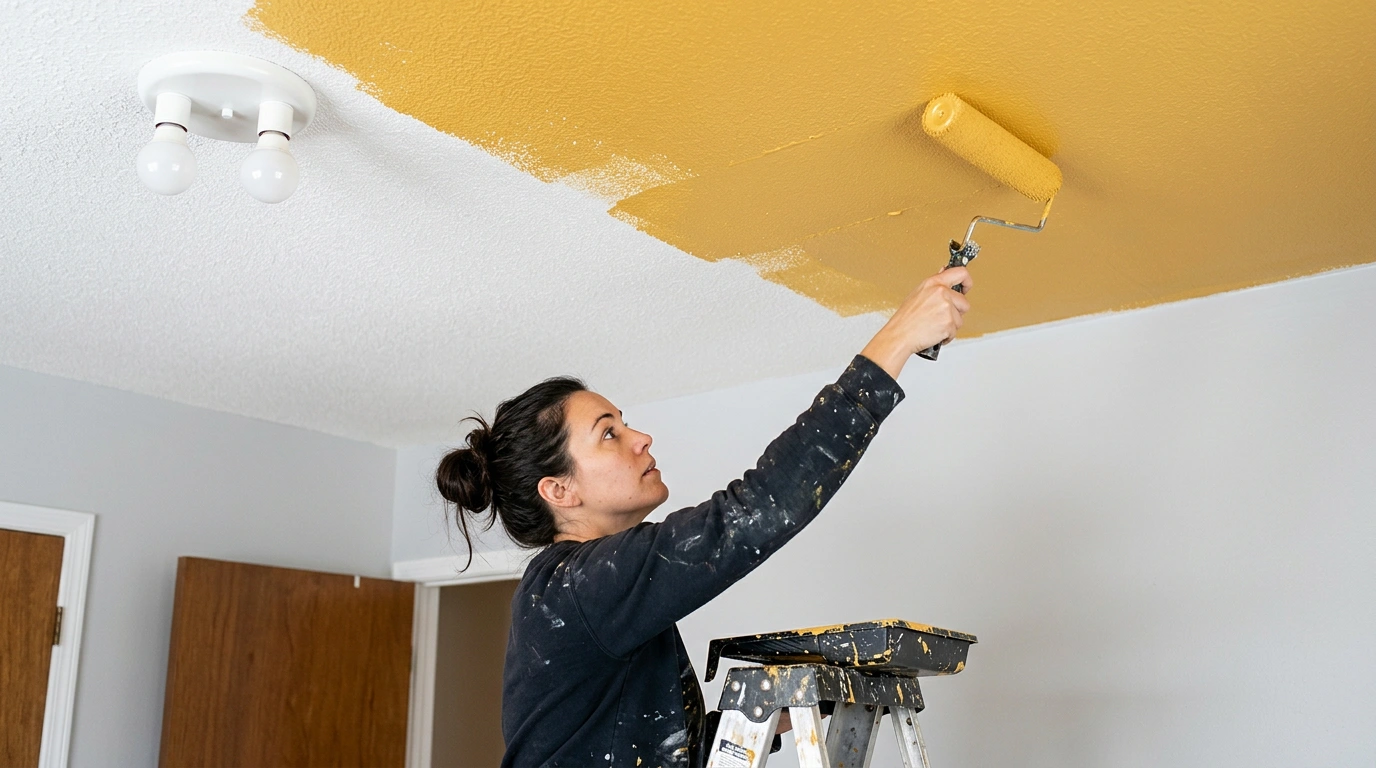
Just like knockdown and popcorn ceilings, the basic prep steps remain the same. However, to paint an orange-peel textured ceiling, you should use a 1/2-inch to 3/4-inch nap roller cover because the thick nap reaches the uneven texture of the orange peel ceiling.
Common Mistakes to Avoid
When painting the textured ceiling, even a single mistake can lead to mess and an imperfect finish on the ceiling. Here is the list of mistakes you should completely avoid:
- Using the wrong roller nap for painting
- Painting over the stains without sanding
- Improper surface preparation
- Selecting the wrong paint
- Working in a low light conditions
- Improper painting of edges
- Applying the second coat of paint without letting the first coat dry properly
Should You Paint or Remove a Textured Ceiling?
Paint it |
Remove it |
| Painting is a simple way to retain the texture of the ceiling | On removing the texture, the ceiling texture gets damaged |
| Painting is a quick way to update the ceiling | Removing the textured ceiling gives a smooth surface |
| It involves minimal preparation | It’s a major renovation work because removing the textured ceiling is a daunting task |
| Simply painting the ceiling won’t disturb your daily routine much | Removing the textured ceiling gives a smooth surface. If you decide that removal is the better option for your home, follow our guide on how to remove a textured ceiling for the steps, tools, and safety precautions involved. |
Conclusion
Painting a textured ceiling requires the perfect technique, the right choice of roller and paint, and immense patience because, unlike smooth surfaces, textured surfaces may require precision and consume more time. Follow all the steps discussed in this blog to achieve a smooth and perfect finish.