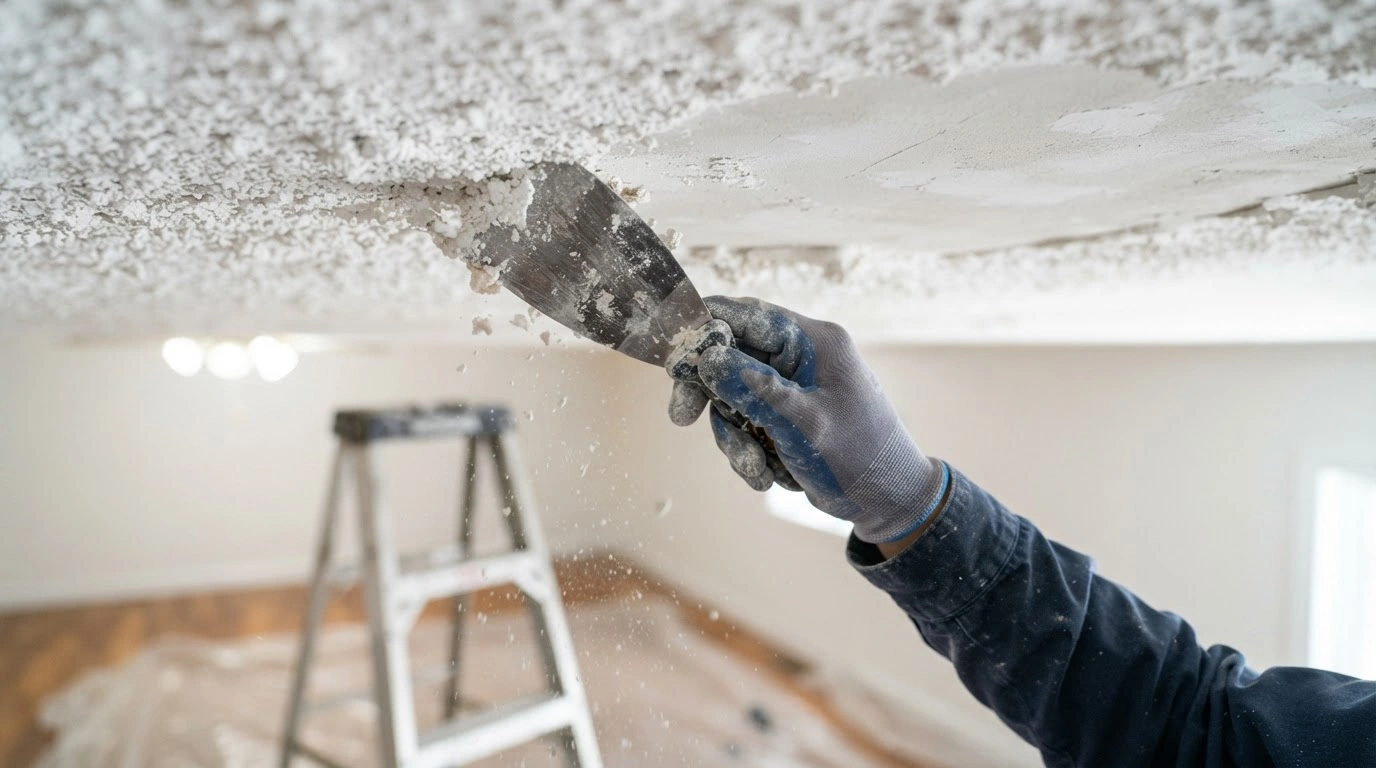
Textured or stomped ceilings were popular from the 1950s to the 1990s, then fell out of style for quite a while before making a comeback. Most people don’t like the look of it; hence, they want to get rid of it. But before you grab your scraper and start removing the textured ceiling, you may need to think about certain criteria, such as the condition of the ceiling. Also, figure out when it was installed. If it was installed decades ago, it likely contains asbestos.
When inhaled, asbestos can cause lung disease. Hence, you have to be careful when removing it. So, how do you remove textured ceilings safely? To help you get rid of the textured ceiling for good, this blog explains each step in detail.
What to Check for Before Removing a Textured Ceiling?
Before you begin removing a textured ceiling, especially popcorn ceilings, the first and foremost thing to check for is asbestos. This is because asbestos is a known carcinogen, which increases the risk of cancer in people.
Older homes with textured or popcorn ceilings may contain asbestos, and if your home was built before 1978, the chances of asbestos in the ceiling are higher. Hence, before scraping or sanding the ceiling, get it tested in an EPA-certified lab for the safest approach.
If you're not sure whether you have a popcorn ceiling or another type of textured ceiling, learn about the differences between popcorn and textured ceilings before deciding how to proceed.
How Can You Test for Asbestos in a Textured Ceiling?
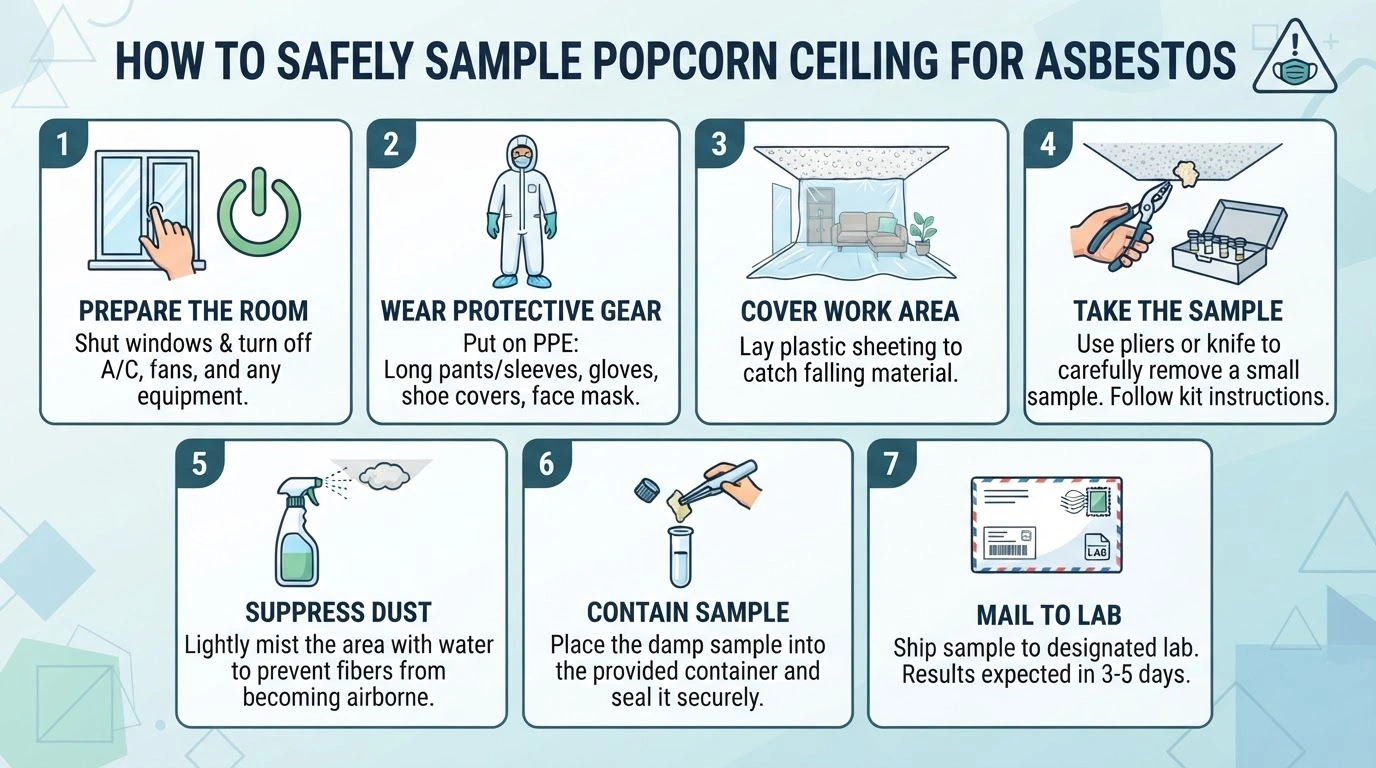
It is not advised to test for asbestos in the ceiling at home, as the results may vary. Send the sample to a lab for a more accurate result. Here’s how you can do it -
- Shut all the windows and switch off the air conditioner, fans, and any other equipment that could move air around the room.
- Put on the PPE, including long pants and sleeves, disposable gloves, shoe covers, and a suitable face mask.
- Cover the work area with plastic sheeting to collect any asbestos-containing material that may become disturbed while taking the sample.
- Follow the instructions in the manual provided with the testing kit. Use pliers, a utility knife, or the recommended tool to remove a small sample of the popcorn ceiling carefully.
- Lightly spray the area with water so that the fibers do not become airborne.
- Place the collected sample into the container that comes with the test kit and seal it as directed.
- Mail the sample to the designated lab; results may take 3-5 days to arrive.
If the test results show the ceiling contains asbestos, it is best to leave it as is. Or, if you absolutely need to remove the ceiling, call a professional to do the work.
What Do You Need to Remove a Textured Ceiling?
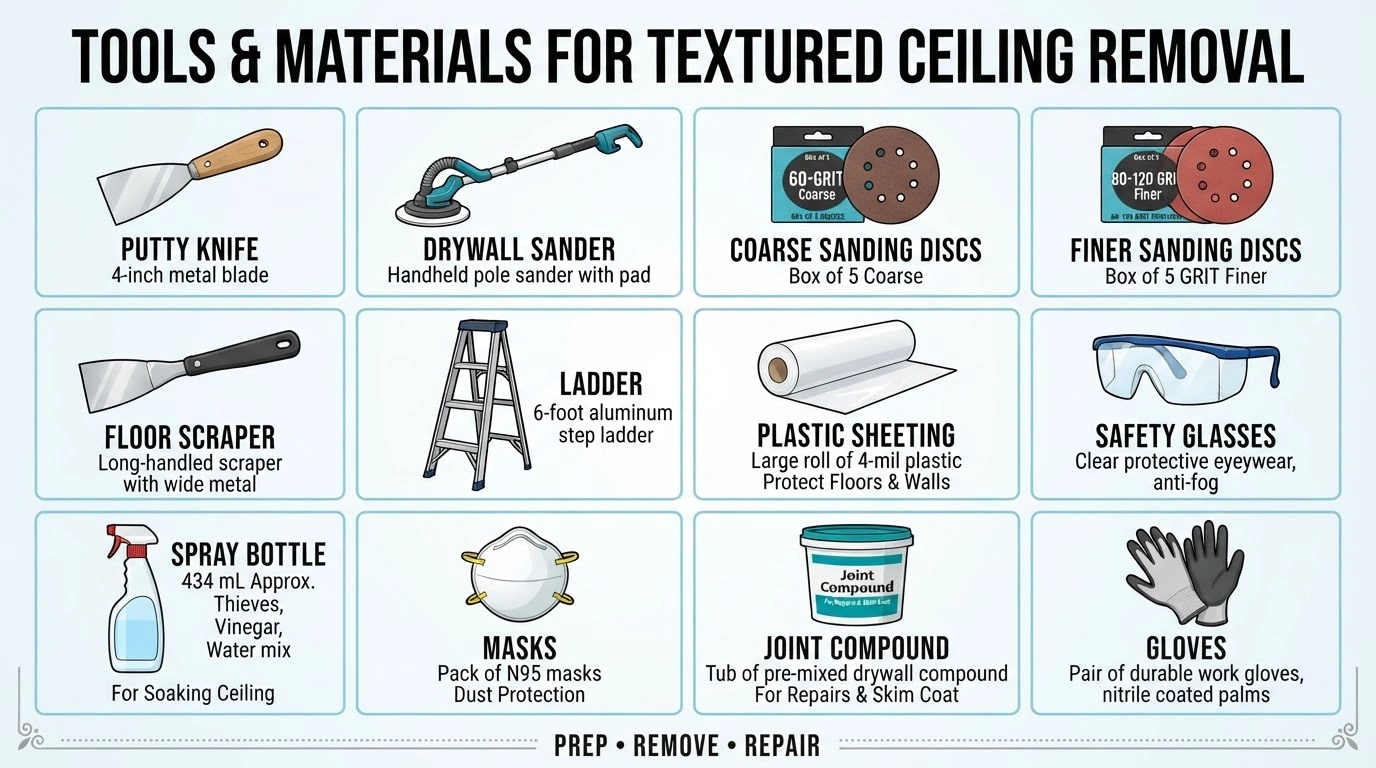
Here are certain tools and materials needed to remove a textured ceiling -
- Putty Knife
- Drywall Sander
- Coarse (60-grit) sanding discs
- Finer (80-120 grit) sanding discs
- Floor Scraper
- Ladder
- Plastic Sheeting
- Safety Glasses
- 434 mL (approx.) bottle filled with Thieves, vinegar, and water
- Masks
- Joint Compound
- Gloves
How to Remove Textured Ceiling?
Here’s a step-by-step guide on how to remove textured ceiling -
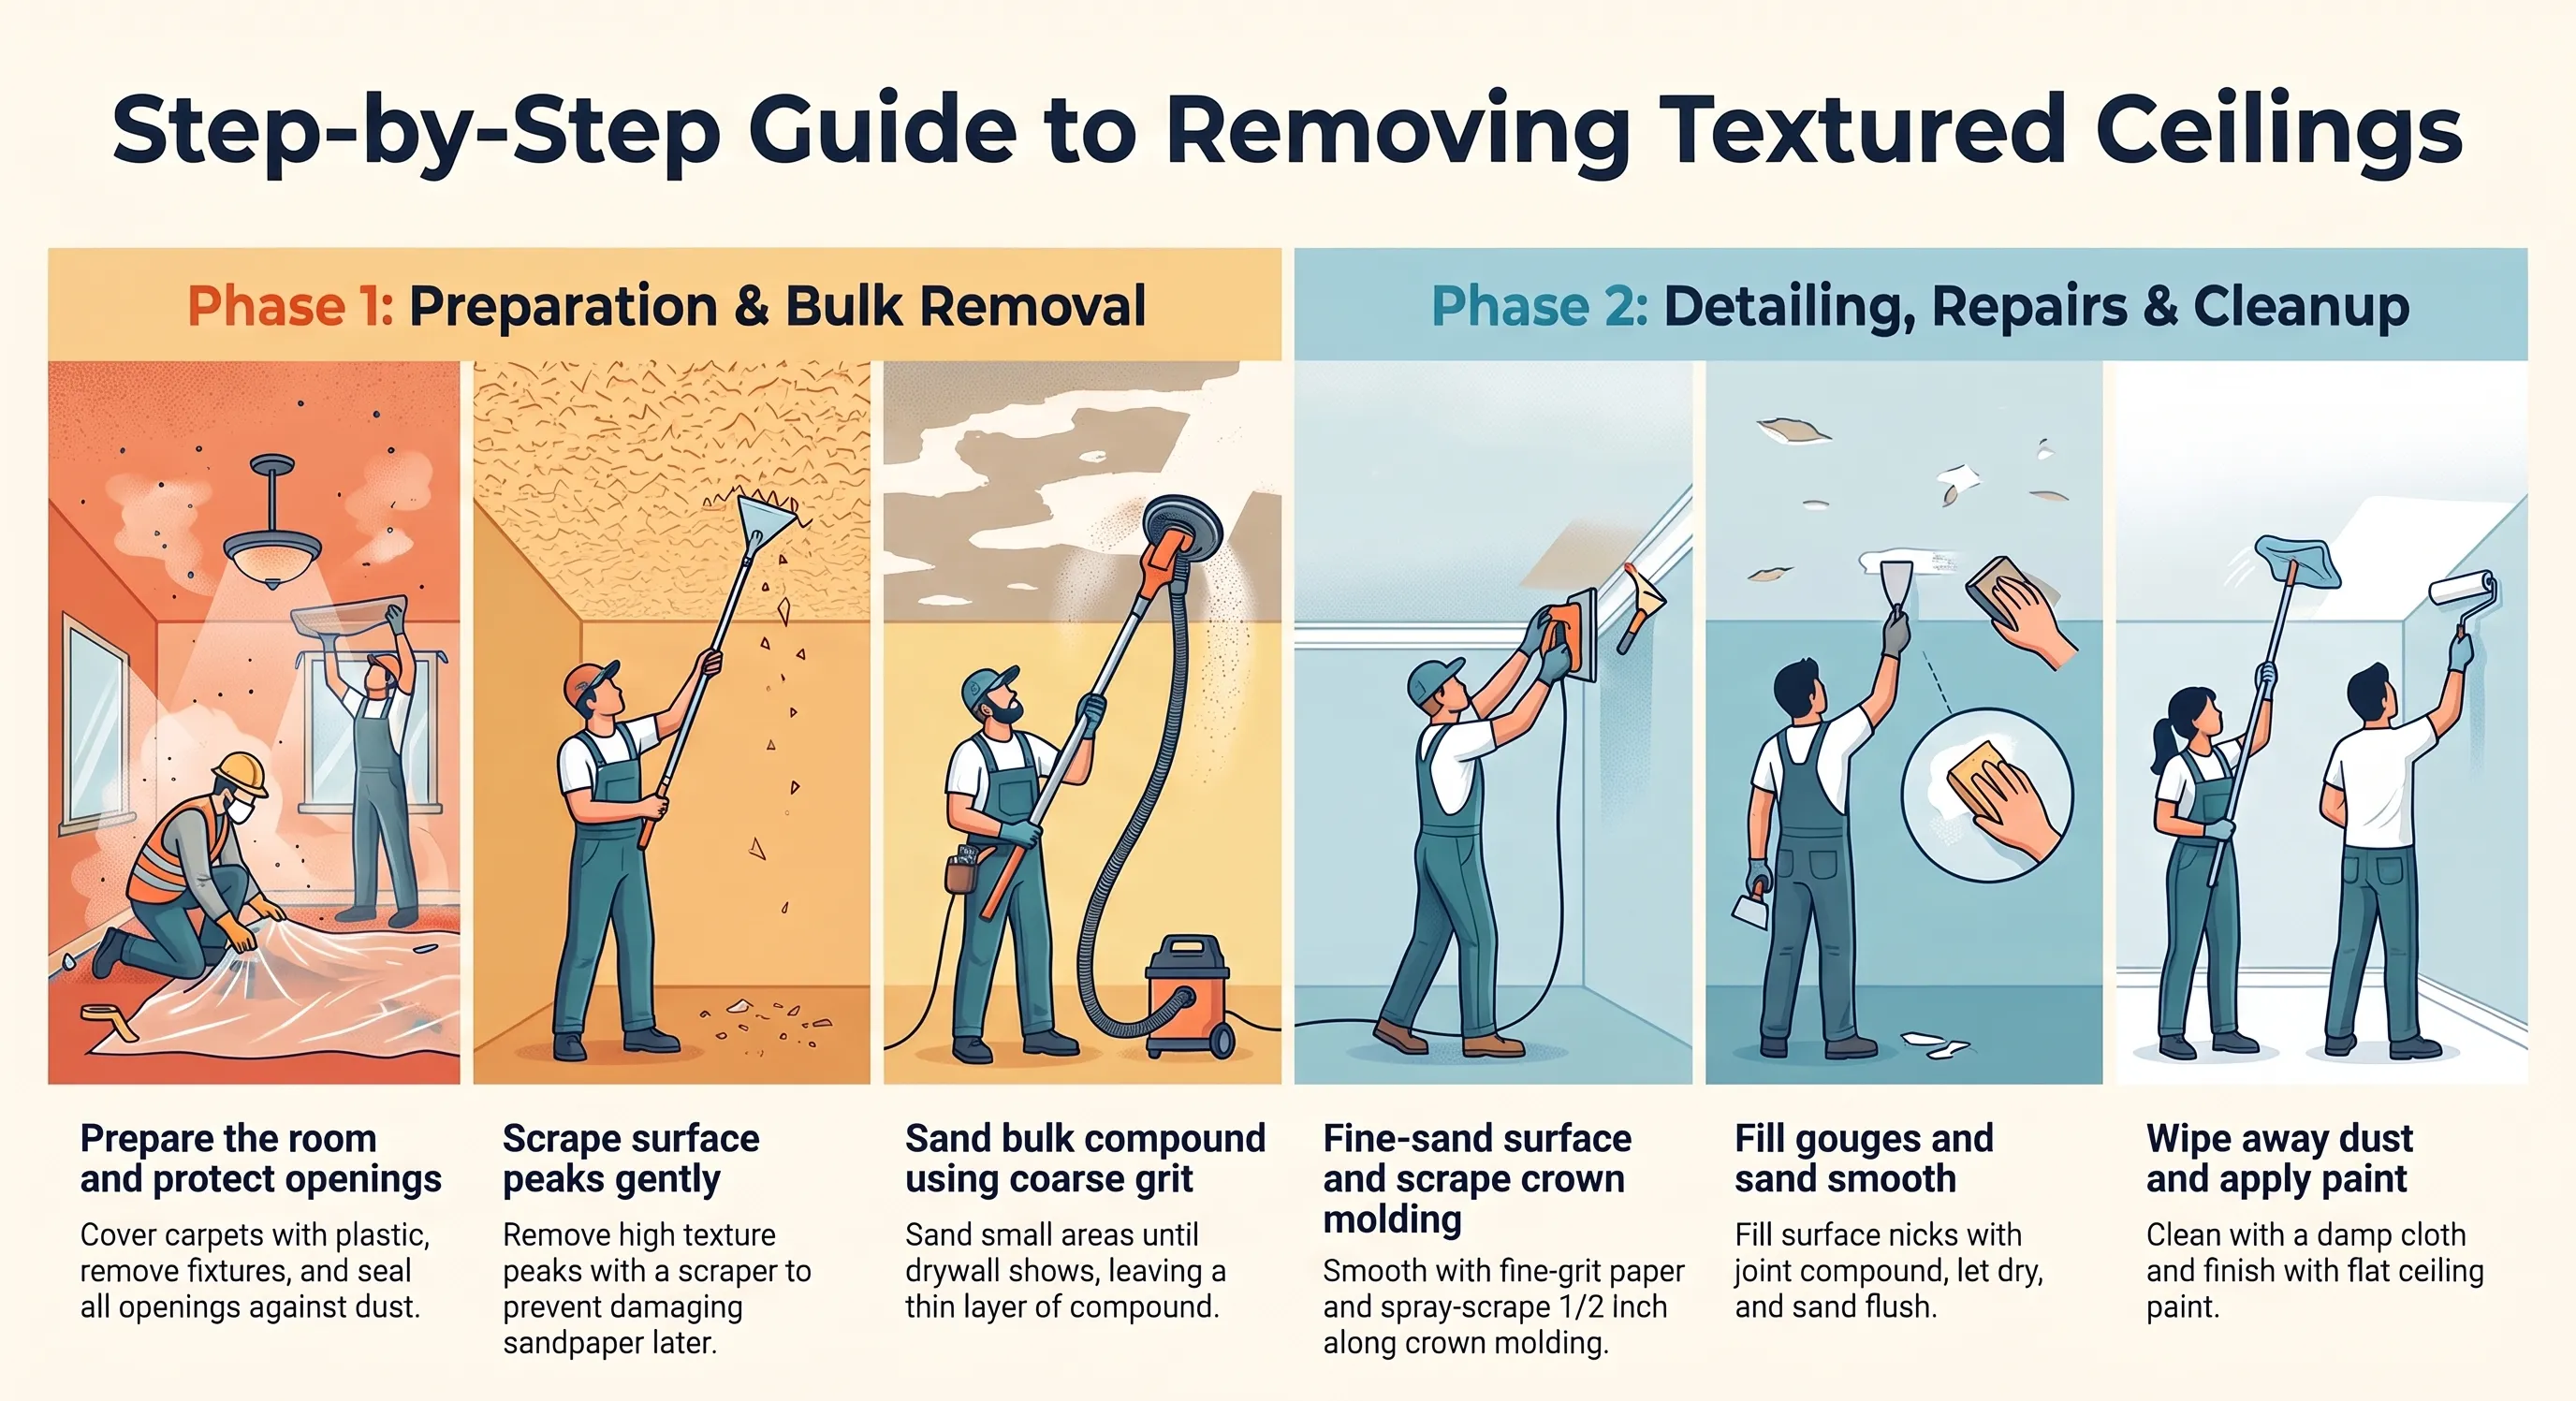
Prep the Room
Preparing the space is one of the most important steps. This may take some time, depending on the room size and flooring type.
- If you have carpet flooring, cover it with plastic.
- Remove light fixtures, air vents, blinds, etc.
- After removing them, cover the openings so that dust doesn't enter the empty spaces.
However, if you plan to change the flooring soon, you don’t need to worry about covering it.
Scrape Off the Surface
Textured ceilings have bigger peaks, which you can remove with floor scrapers. You can also do this with a putty knife. Don't dig too hard into the compound or paint; remove only the peaks. If you accidentally create a gouge, you can fix it later. Scraping off the peaks keeps the sandpaper from getting damaged or shredded in the next step.
Sand Away the Remaining Compound
To sand away the remaining compound, work on smaller areas rather than doing the entire wall. Here’s how you can do it -
- Use the drywall sander with coarse-grit sandpaper.
- When the sandpaper looks worn out, switch to a new sheet.
- Keep sanding until the thick and extra joint compound is mostly gone.
Once you see the drywall underneath the compound, stop sanding the spot and start with a new area. This is because the coarse sandpaper can damage or tear the thin paper covering of the drywall.
| Note: | Remove any excess joint compound, but leave a thin layer rather than trying to sand all the way down to bare drywall. |
Remove any Excess Joint Compound
Now use fine-grit sandpaper. This helps remove any remaining joint compound. You don’t have to completely remove the compound along the seams or around filled nail and screw holes. These areas should be easy to spot because the compound will appear as a long, smooth line that sits flush with the drywall.
Scrape Around the Crown Molding
Next, scrape about ½ inch along the entire ceiling edge where it meets the crown molding. A drywall sander may not reach this narrow area, so use a spray bottle and putty knife to remove any remaining texture.
Fill Any Gouges and Nicks
After you finish scraping the ceiling, check for any gouges, nicks, or damaged spots. Use a putty knife to fill them with joint compound, then let the compound dry completely.
Repair and Wipe the Ceiling
Once the compound is dry, smooth the area with a sanding block. Finally, wipe the ceiling with a damp cloth to remove any remaining sanding dust and clean up the work area. The ceiling is now ready to paint. Flat-finish ceiling paint provides good coverage, and two coats may be enough without primer. For detailed instructions on preparing, priming, and painting the ceiling, see our guide on how to paint a textured ceiling
What Are Other Ways to Remove a Textured Ceiling?
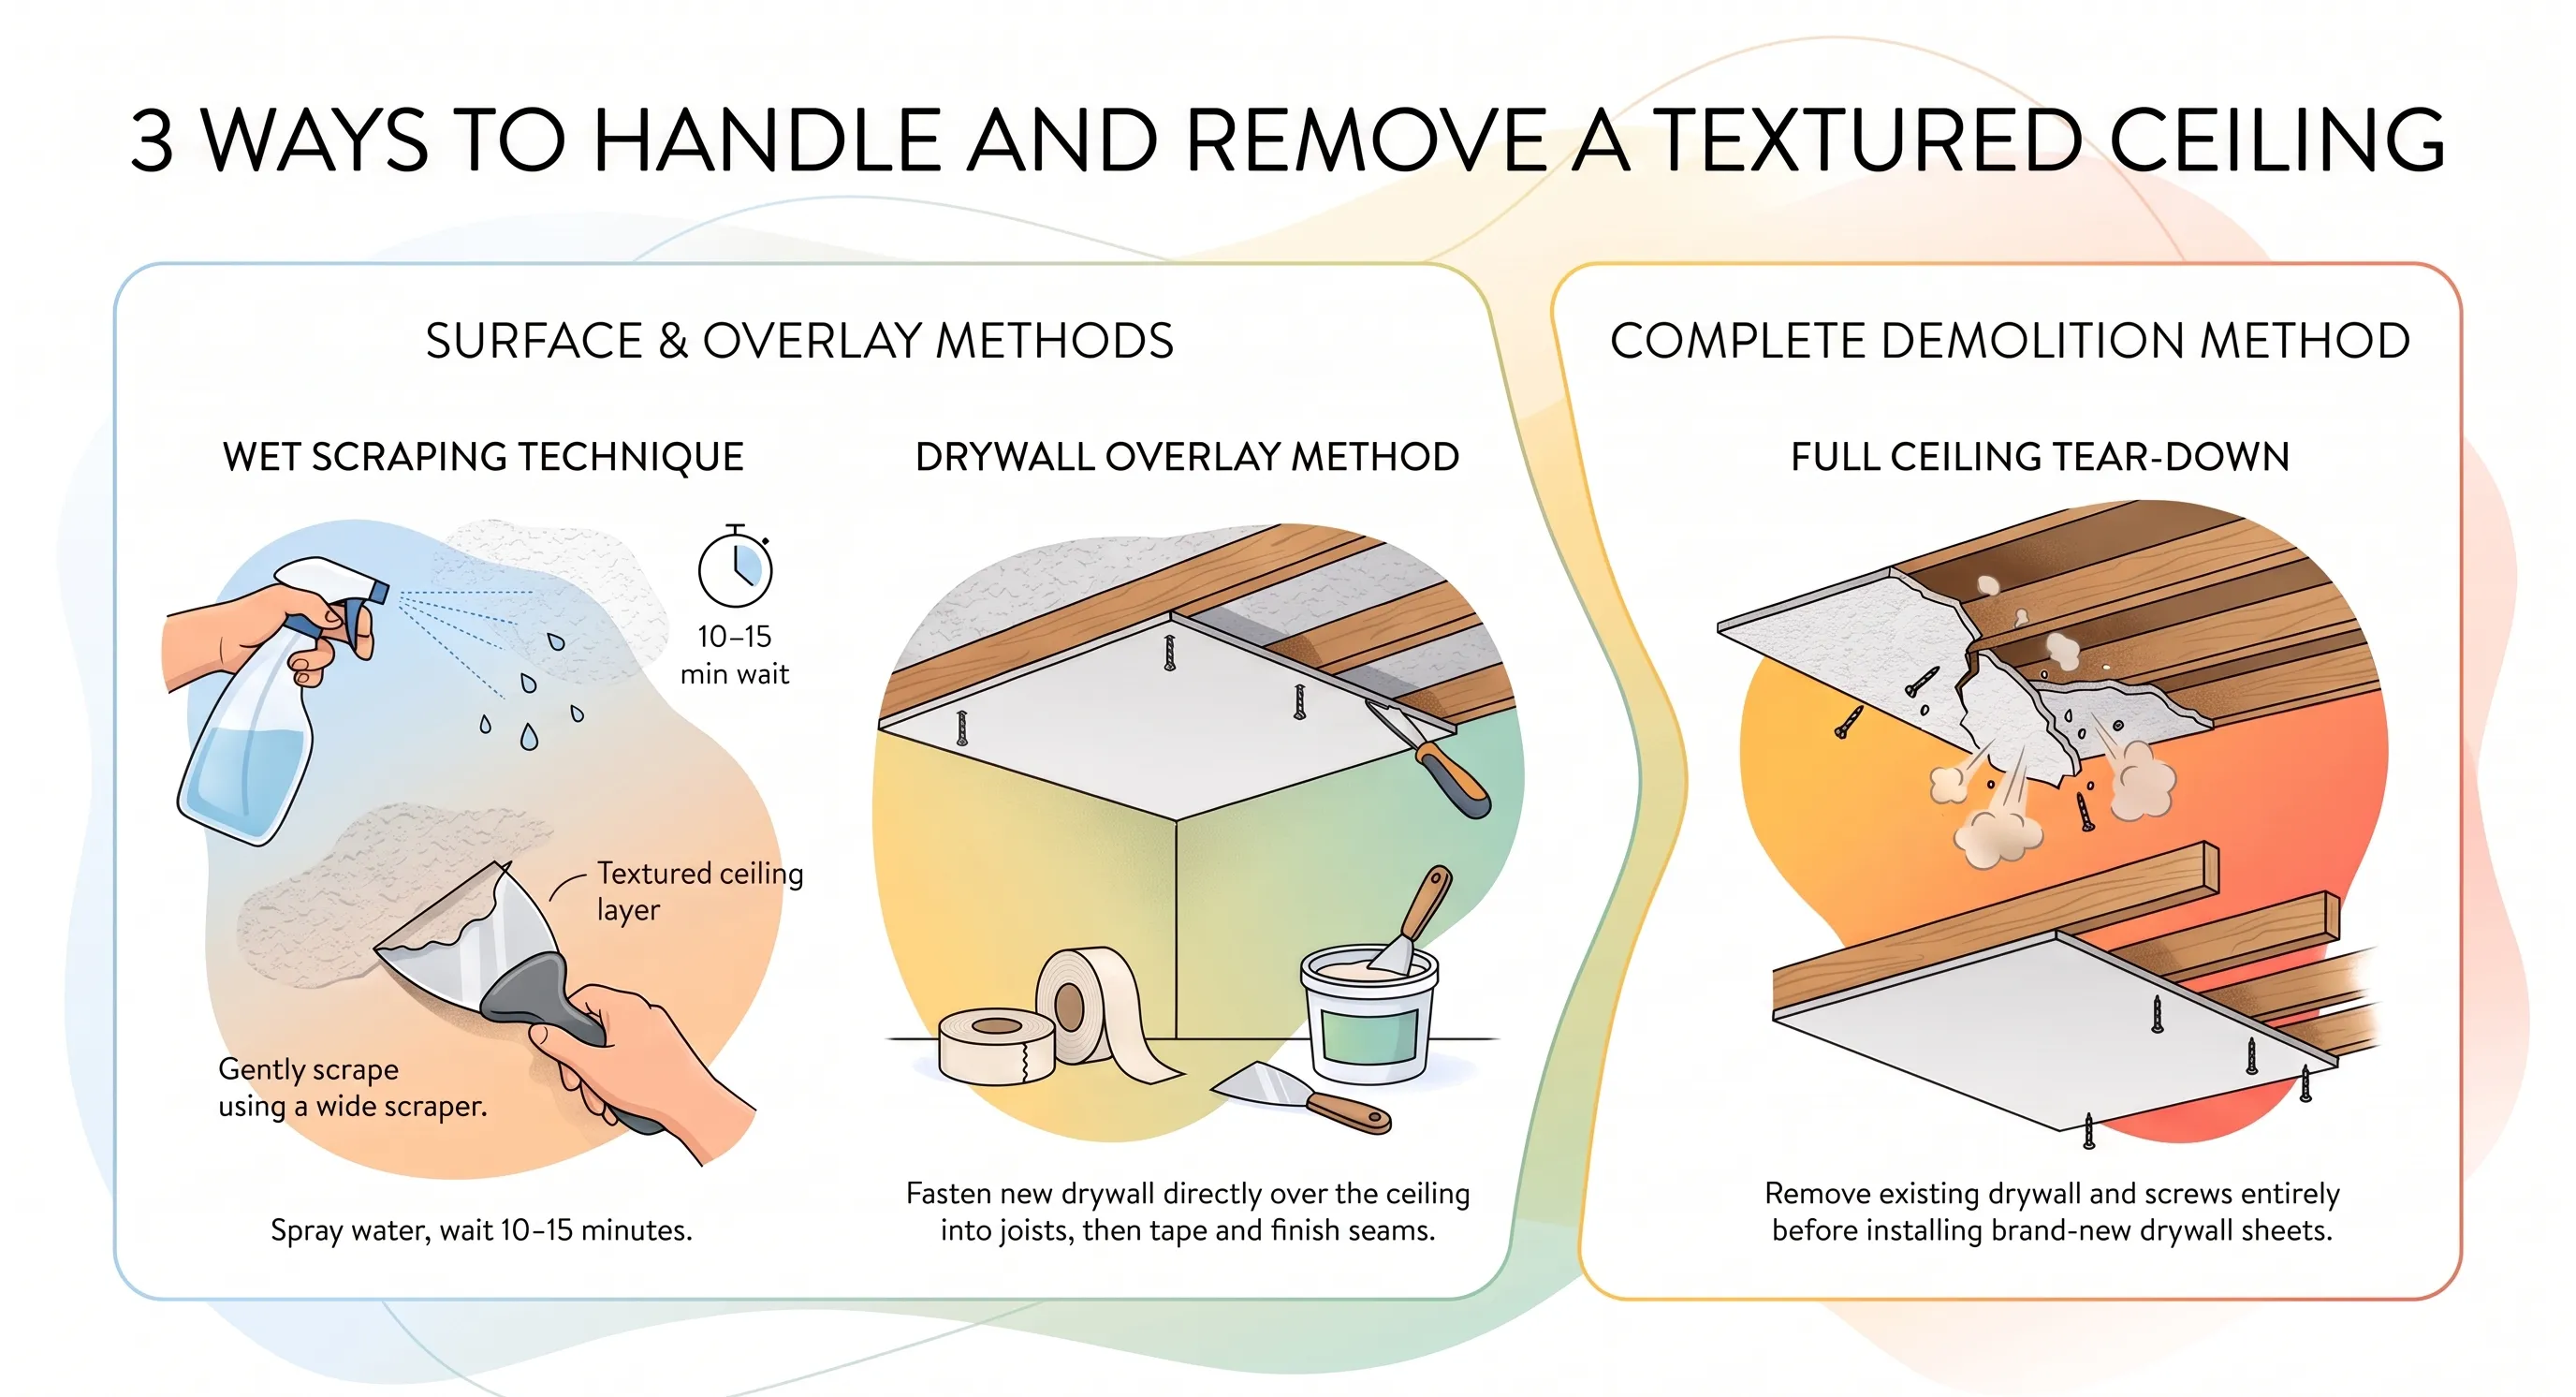
There are other methods of removing textured ceilings, and some of them are -
Wet Scraping Method
This method involves soaking the ceiling and then scraping off the texture. Here’s how you can do it -
- Move anything you can to another room, and cover the floor with plastic or a tarp.
- Wear a dust mask and spray the ceiling with water. The water should penetrate the ceiling, but shouldn't be soaking wet.
- Let the water sit for 10-15 minutes before you scrape.
- Hold a wide scraper flat against the ceiling and use gentle pressure to scrape the texture.
- Repeat until you remove all the texture.
Covering Up the Ceiling
In this method, you can add a new layer of drywall directly over the existing ceiling. Here’s how you can do it -
- Locate the ceiling joists or existing drywall seams so you know where to place the new drywall screws. A magnetic stud finder can help you find the old drywall screws.
- Install the new drywall directly over the ceiling, just as you would with a new drywall installation. Keep the seams as tight as possible and make sure they fall over the ceiling joists or beams.
- Tape the seams and apply joint compound to the edges. You can do this the same way you finish new drywall.
Take the Ceiling Down
Though this process might sound drastic, it is also considered a viable option. This is especially practical when covering the existing ceiling or when finding stud location seems difficult. The process is simple: remove the old drywall and screws, then install new drywall.
Conclusion
Not everyone likes the appearance of the textured ceiling. They often prefer to remove it for a cleaner and more updated look. However, before removing it, understand the ceiling's age and condition to find out whether it contains asbestos. If the ceiling is safe, you can proceed on your own using the scraping method, or you can take it down if needed. Whichever method you choose, protect the room, wear suitable safety equipment, and avoid damaging the drywall underneath.