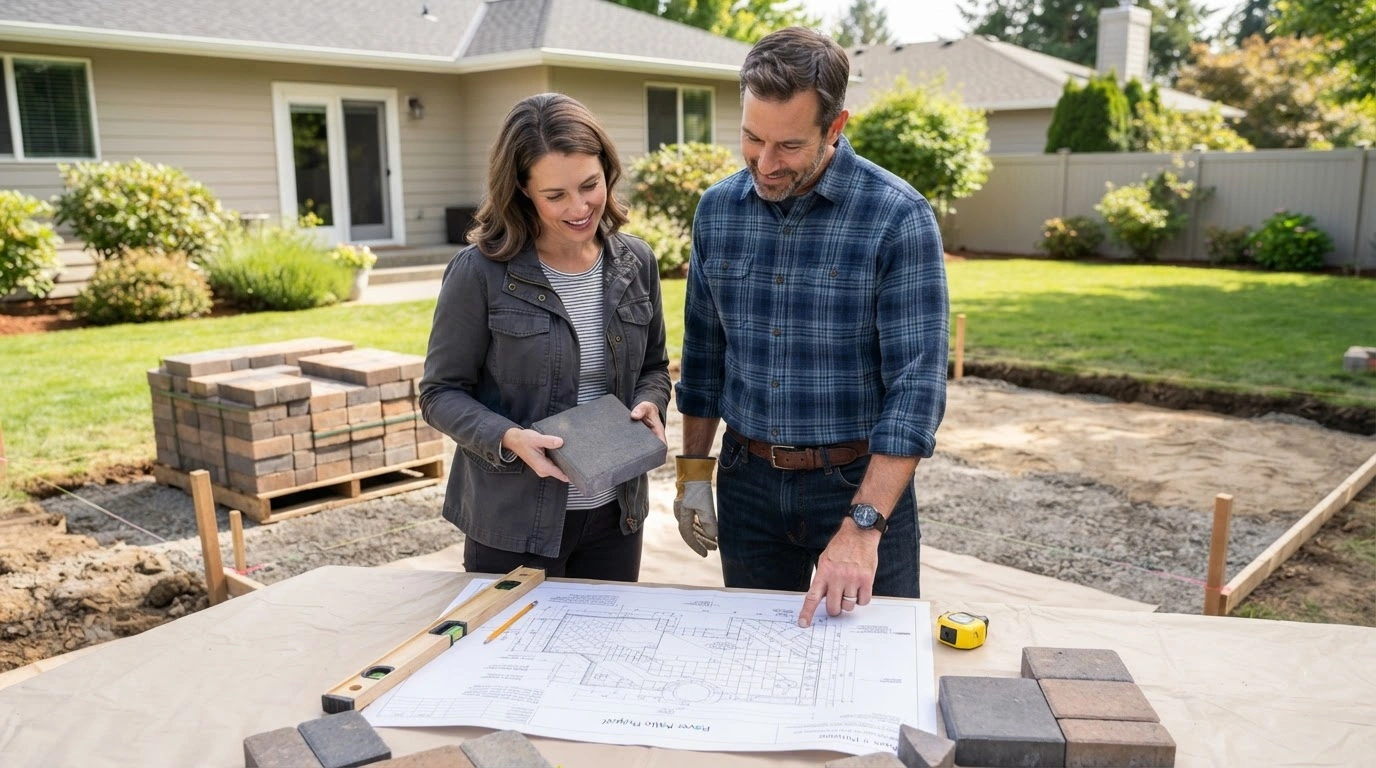
The idea usually starts with a photo. A patio with a herringbone pattern and a fire pit, a driveway edged in contrasting stone, and a walkway that curves through the garden instead of cutting straight across it. Then come the practical questions nobody puts in the photo: what's under those pavers, how long will they last, what will it actually cost, and what happens when a tree root or a plumbing line needs attention ten years from now?
For homeowners in San Rafael, California, pavers are a popular way to enhance outdoor living spaces while adding character and functionality to a property. Pavers are one of the most rewarding outdoor projects a homeowner can take on, and one of the easiest to get wrong if the planning is thin. The surface is the last thing to go in; everything that determines whether it looks the same in 2040 happens before the first block is set. Here's what to understand before you start.
Outdoor Projects Pay Back in More Than Looks
A well-built patio or driveway is an investment homeowners rarely regret. According to the National Association of Realtors' 2023 Remodeling Impact Report: Outdoor Features, produced with the National Association of Landscape Professionals, a new patio earned a Joy Score of 9.9 out of 10 from homeowners, and 92 percent of Realtors recommend improving curb appeal before listing a home.
The satisfaction comes from using the space; the resale value comes from how it was built. Both depend on the decisions below.
The Base Matters More Than the Pavers
The single most important thing to know is that pavers don't fail; bases do. A paver surface is only as stable as the compacted gravel and sand beneath it. A proper installation includes:
- Excavation to the right depth for use, deeper for driveways than for patios
- A compacted aggregate base, typically several inches of crushed stone laid in layers and compacted each time
- A bedding layer of sand or fine stone, screeded level
- Edge restraints that keep the field from spreading
- Joint sand, often polymeric, swept in and set to lock the pavers and resist weeds
A contractor who talks about base depth and compaction before pattern and color is the one who understands where the project succeeds or fails. Driveways that will carry trucks or RVs need an even thicker base, so mention heavy vehicles up front.
Choosing the Right Material
The paver catalog is wide, and each option trades differently:
- Interlocking concrete pavers are the workhorse: strong, uniform, available in many shapes and colors, and easy to replace individually. Good ones are rated far stronger than poured concrete
- Brick pavers offer a classic look and age well but have fewer size options
- Natural stone such as flagstone, travertine, or cobblestone is beautiful and unique, with a higher cost and more variation in thickness, which makes installation more demanding
- Permeable pavers let water drain through the joints into the base, reducing runoff and often satisfying local stormwater rules
Ask for samples, look at them wet and dry, and see them in a finished installation rather than only in a showroom.
Drainage Is a Design Decision
Water is the main cause of shifting, settling, and heaving. A good design slopes the surface away from the house, directs runoff to planted areas or drains, and uses permeable materials where soil and rules allow.
If the yard already has standing water or a damp foundation, fix that first; a paver patio over a drainage problem becomes a paver drainage problem.
Permits, Rules, and Utilities
Before any digging:
- Check whether a permit is required, especially for driveways, retaining walls over a certain height, or changes to drainage
- Confirm homeowners' association or neighborhood design rules
- Have utility lines located and marked
- Know where irrigation, drainage, and electrical runs are, and plan access to them
One practical advantage of pavers over poured concrete is that they can be lifted to reach a pipe or cable and reset without a visible scar, as long as someone knows where those lines are.
How to Choose a Paver Contractor
Because the critical work is underground, the contractor matters more than the material. When comparing bids for paver installation in San Rafael, ask each one to specify the base depth, compaction method, edge restraint, joint sand, drainage plan, and warranty in writing, and ask to see projects they completed several years ago rather than last month.
Viking Pavers, for example, has installed driveways, patios, walkways, pool decks, and retaining walls across the Bay Area for two decades and backs its work with a 30-year workmanship warranty and a lifetime material warranty on interlocking concrete pavers. Whoever you hire, confirm they're licensed and insured, and be wary of any bid that's dramatically lower than the rest; the savings are usually in the base.
Questions to Ask Before You Sign
Before hiring a paver contractor, ask the right questions to understand the quality of materials, installation methods, and long-term durability you can expect from your investment.
- How deep is the base, and how will it be compacted?
- What edge restraint and joint sand will you use?
- How will water drain off the finished surface?
- Is a permit needed, and who obtains it?
- What does the warranty cover, for how long, and who honors it?
- Can I see a project you installed five or more years ago?
- What's the plan if we hit a utility line or bad soil?
A reliable contractor will welcome these questions and provide clear answers, helping you move forward with confidence and enjoy a paver surface built to last.
What Affects Paver Installation Cost?
Paver projects are priced mostly by area, material, and site conditions. Factors that move the number:
- Demolition and removal of existing concrete or asphalt
- Excavation depth and soil conditions
- Material choice, with natural stone at the top
- Pattern complexity and cuts
- Steps, walls, borders, and lighting
- Access for equipment and material delivery
A detailed, itemized estimate makes bids comparable and prevents surprises. Expect to pay more than for plain concrete and to get a surface that lasts far longer and can be repaired piece by piece.
The Paver Installation Process, Step by Step
Understanding each stage of a paver installation helps you set realistic expectations, plan around the disruption, and recognize the quality of work that makes the finished surface last.
- Consultation and design, including layout, pattern, and material selection
- Site preparation: demolition, excavation, grading
- Base construction and compaction, the longest and most important stage
- Bedding and laying the pavers to the pattern
- Cutting and edging
- Joint sand and compaction of the finished surface
- Cleanup and walkthrough
Most residential projects take days to a couple of weeks depending on size. Keep traffic off until the contractor says the joints have set.
How to Maintain Pavers After Installation
Maintenance is light but not zero:
- Sweep and rinse regularly
- Top up joint sand every few years
- Pull or treat any weeds early
- Seal if you want enhanced color and stain resistance, following the manufacturer's schedule
- Replace any damaged block individually
- Keep drainage paths clear
With that care, a well-built paver surface can outlast the house's roof, its windows, and most of its appliances.
Conclusion
Before starting a paver installation project, homeowners should know that the surface is the smallest part of the job: the base, the drainage, the edging, and the joint work are what decide whether the patio or driveway stays flat and tight for decades.
Choosing a material suited to the use, planning for water, handling permits and utilities, and hiring a contractor who specifies the invisible work in writing turn a photo into a space that earns its near-perfect Joy Score every weekend. Ask about what's underneath first, and the pattern on top will take care of itself.