The idea of constructing a door frame all by yourself might seem extremely intriguing. But it’s a great opportunity to add a personal touch to your interior. Also, doing it yourself can save you labor costs. But DIYing requires skills, and you must ensure you have all the tools and equipment required. This ensures that the door frame is structurally strong and aesthetically beautiful.
This blog will guide you on how to build a door frame, in addition to what tools you must have handy to start the process.
What Tools and Materials Are Required to Build a Door Frame?
Before you start building a door frame, gather information about the different options. Here are a few wood types you can consider using -
- Alder is popular because of its refined detailings.
- Spruce is light but strong, making it another good choice.
- Birch is a hardwood, but it is easy to work with.
- Pine is affordable and is often the first choice when it comes to picking a building material.
Here are certain tools, materials, and other important equipment needed to build a door frame -
- A level to ensure accurate alignment.
- A tape measure to get the right dimensions.
- A circular saw or a miter saw to cut the wood.
- A hammer or a nail to fasten the pieces of wood.
- Proper nails for the wood and nail gun.
- Construction-grade glue for additional stability.
- Shims to adjust and level the frame.
- Screws to secure the frame to the wall and floor, if needed.
- Safety gears, such as glasses, hearing protection, and work gloves.
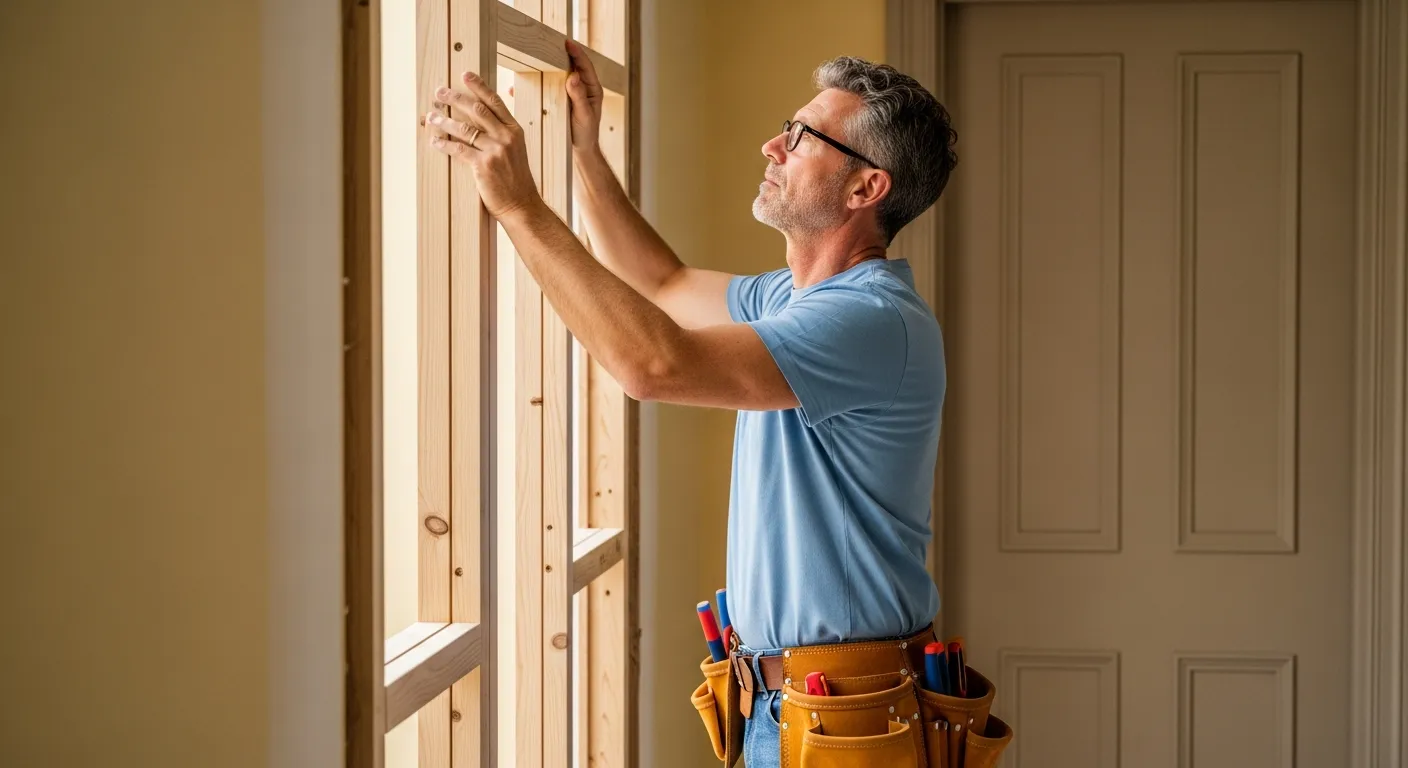
Step-by-Step Process to Build a Door Frame
Building a door frame is easy, but it is important to know the steps in detail. Here’s a roadmap to make sure you get everything right -
Plan and Measure
First, measure the size of the door and the opening where the door will be installed. Determine the width and height of the opening twice to ensure the measurement is accurate. Also, keep in mind to keep some space for the lock and hinges.
Mark the Opening

Mark the upper and lower points of the door opening on the wall and make sure they are level and plumb. Then, using chalk, draw a straight guiding line between these marks, which works as a reference when framing the door.
Prep the Wall
After you have taken the proper measurements, prep the wall, as it is important to have a smooth and flat surface. This is because any uneven surface can create a hassle when installing the frame. Fix any wall problems beforehand with putty or something similar.
Cut the Posts
Cut the lumbar as per the size of your door frame, including the height of the door. These are known as kind studs (the vertical side pieces). Cut two more pieces according to the width of the door (horizontal pieces) minus the width of the two king studs. These pieces are known as a header or sill. You also need to cut the jack post. This shorter stud supports the door lintel and is installed next to the king studs.
Assemble and Install the Frame
Secure the stud to the header with nails or self-tapping screws at 90-degree angles. Check if everything is aligned using a level or a square. Once you have assembled the frame -
- Install and secure the top lintel to the floor or ceiling using 12D nails.
- Next, secure the bottom lintel to the floor using nails. Make sure not to leave space for the door jacks. Also, mount the base plate using Tapcon screws and then fasten the king and jack stud with 12D nails.
- Put the header in the opening and nail them together. It should fit comfortably between the vertical posts and rest on the supporting stud.
- Measure the length of the stud depending on the distance between the transom and the top lintel. If you have a wider doorway, consider preparing 1-2 parts, which will be the retaining stud.
- Secure them to the lintel and the stud, and then take down the lower lintel. Also, remove the bottom lintel by cutting at the edges of the retaining post.
Check if the Frame is Level
Once you have the frame in place, double-check the level by measuring the diagonals of the frame from one corner to another. Make sure they are equal in length. If they seem uneven, adjust by tapping the frame with a hammer. You can also adjust the shims until the frame looks visibly even.
Secure the Frame to the Floor
Drive a screw through the sill into the floor joists and attach the bottom of the frame to the floor, if required. This prevents the frame from moving.
Check for Clearance and Add Finishing Touch

Test fit your door before moving forward. Check if there is enough clearance on all sides. Make any adjustments required to ensure that the door operates easily without any hindrance. Next, apply caulk bead or sealant around the outer edge of the door, near the wall, to make the seal airtight and weather-resistant. You can also paint the door at this stage, which enhances its look and protects the material from moisture and wear.